03 Dec'21


As you might know, Shopify introduced metafields as part of its core functionality. It means that you can experience the benefits of using metafields for your store just by adjusting the needed Settings. Since our October release, Salestio incorporated metafields to fulfill the business needs of the users. This article explains how to configure metafields on the Shopify store and then how to use them to send custom data to Amazon and eBay.
So, what are metafields? In short, metafields are hidden data that give extra information. Basically, it means that you can add custom data to your pages. They will not be seen by your Shopify store buyers. However, these data can be used internally, for example by some apps like Salestio, in analytics and marketing scenarios. Currently, default Shopify functionality allows using metafields for Products and Variants pages.
In this article, we will show how to add metafields to these pages, and how to use these data to create new listings on Amazon and eBay using Salestio.
As we mentioned before, metafields are hidden data but you can also use them to display on your online store. To do so, you would need to connect the created metafields to your Shopify theme. If this is your case, we would recommend checking the Shopify help page on how to implement it.
Configure Metafields from Settings
Let’s start with adding metafields to the Products and Variants pages. To do so, go to your Shopify admin, open Settings, and click Metafields from the left side navigation. You will see the list of pages where you can add metafields.

Click “Products” or “Variants” depending on where you want the metafields to be displayed. We will start with the Products. Right after you click it, you will be presented with the list of already created metafields. The page is empty since none have yet been added.

Click the “Add definition” button. You will be presented with the form to add your definition specifics.

First of all, you would need to define a name. Depending on the entered name, the Namespace and key value will be generated automatically. However, you can also modify it if needed. The description is totally optional and you can skip adding it or can add it so that it is also clear for other users.
Then goes the Definition type. Shopify offers quite a range of field types to be added. Select what is relevant to your business needs.

Depending on the selected type, you will also be able to configure validation and additional rules. For a single-line text, you can select the minimum and maximum length, add regular expressions, or limit to preset choice. In the latter case, you would need to add values that will be displayed as a dropdown list on the Product page.

Remember to save the definition. After it is saved, you can also go ahead and modify or delete the metafield definition when it is no longer needed.
You can add as many definitions as you need. Not only to the Product page but also to Variants.
After we added the definitions that we wanted, we are ready to go and add the values to the correspondent metafields. Go to Products, and select the product you want to modify. Metafields are displayed at the bottom of the page. Remember that the Variants definitions will be displayed on the Variants page.

By clicking the View all link, you will be redirected to the separate page where you can add values to all these definitions. There is also a quick link to modify definitions settings. Let’s add some values to fields.
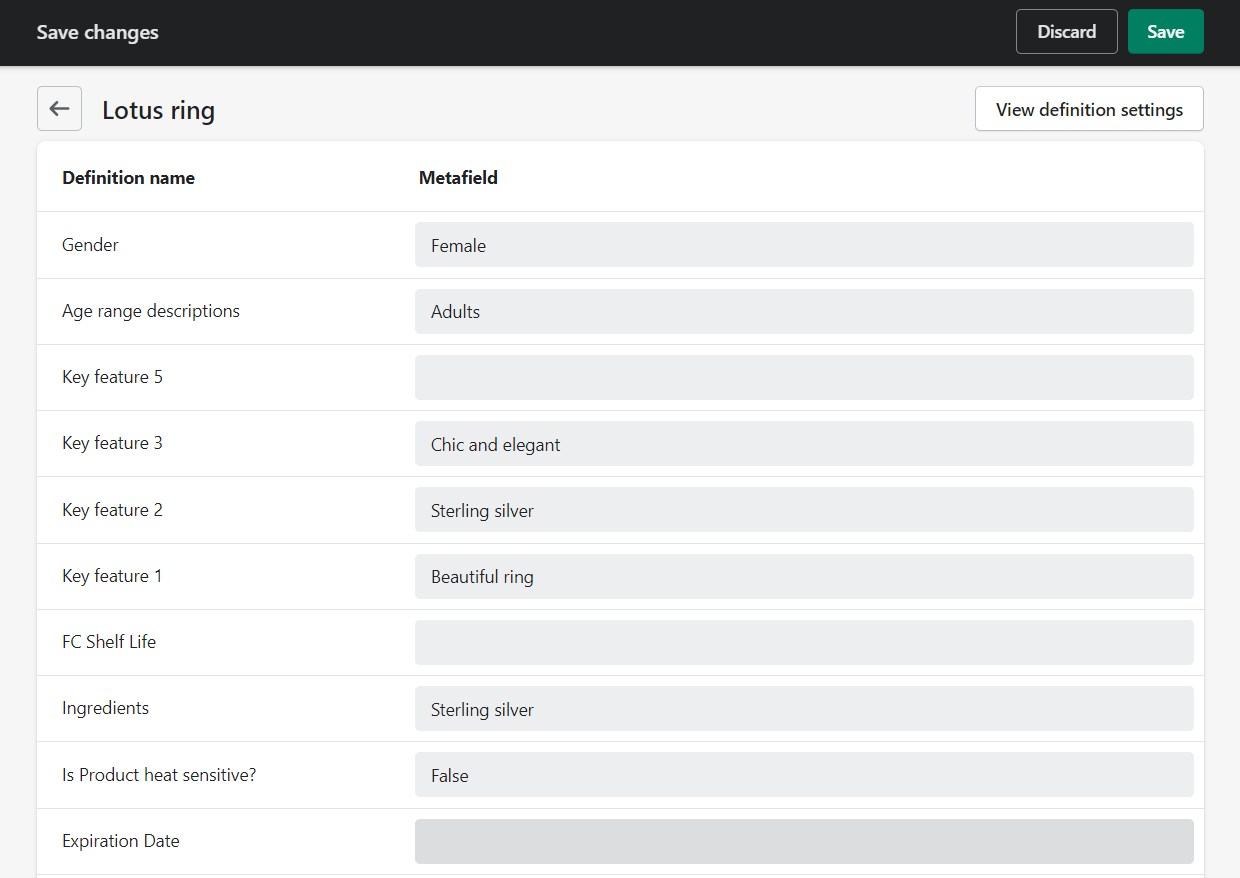
Remember to save the changes.
The short video below shows the whole process from adding metafields definitions and values to themhttps://www.youtube.com/embed/a-wAHKO55zo?feature=oembedAdd and Configure metafields in Shopify store
At this point, metafields are added and ready to use.
Send extra data from Metafields in Salestio
Now, we will show you how you can utilize the created metafields in order to send extra information to eBay or Amazon. It is done through the Creation Profile for both integrations. Please note that it would work only if you add new listings to either of the platforms.
First of all, Salestio needs to receive the metafields data from Shopify. The data are pulled once every 24 hours at night time CET. However, you can also manually trigger metafields data updates. To do so, go to Salestio > Settings. Click the “Refresh metafields data” button.

Usually, it will take about an hour to pull the needed data. Wait for an hour and go back to Salestio.
Important! Remember to refresh metafields data not only when you initially add metafields definitions to your Shopify store, but also after you just add values to metafields on Product and Variants pages.
After data is pulled, go to Salestio > Profiles > Creation Profile (eBay or Amazon). You can modify the existing one or create a new one. For the sake of this article, we will modify the existing Creation Profile and the existing Product mapping.
Let’s send a t-shirt to Amazon as an example. We have already added it to the Selling List and created a mapping in the Creation Profile.
What’s great about metafields in the Creation Profile is that they allow sending bullet points also known as key features for new Amazon listings. We have also added the key features to our example Product page.
To transfer the data from key feature metafields, click on the dropdown of the Bullet Point field. Metafields are displayed under the section Product my_fields and ProductVariant my_fields. Select the needed value.

Whilst bullet points are specific to Amazon, all other fields can be modified to eBay as well. Select the mapping you want to add or modify. Find the needed field, and select metafield definition from the dropdown list.

Remember to save the updated mapping and changes to the Creation Profile.
All other steps are basically the same when sending new products to Amazon or eBay. Make sure that this Creation Profile is added to the Amazon profile assigned to the Selling List with the products you want to send. Then select the products in the Selling List and click the “Send to eBay” or “Send to Amazon” buttons.
After a product is sent to the platform, all metafields data will be displayed where they were added. Here is an example of how bullet points that we just sent are displayed on Amazon.

Since you added individual values to each product page, it will display those values for each Amazon listing.
Here is a short video that shows the whole process described above.
Once you configured metafields in the Creation Profile, you can use the same settings to send all other Shopify products to Amazon and eBay. Just remember to pull metafields data from the Settings after you add new values to Shopify product and variant pages.
What about you? Have you already tried Shopify metafields functionality on your store? Maybe you used metafields before with the help of any third-party app? If so, what was your experience with metafields? What are the most common use cases you cover with the metafields? We would love to hear your thoughts on this.
Our Support Team is ready to help you with listing your products on eBay and Amazon with the help of metafields, just contact us.
You can find Salestio on the Shopify app store. The documentation page for various Salestio integrations is available at our help center.