15 Aug'25


Salestio helps sellers expand their store to external marketplaces. In this article, we will focus on the details related to listing products on Amazon.
First of all, Salestio requires a Pro Seller account on Amazon to publish and synchronize the items. The account should be able to list items.
To verify that your Amazon account is ready to go, try listing one item directly from the Seller Central UI. If the item was published successfully, move on to the Salestio configuration. In case the account is missing some details or permissions, Amazon will notify you in the process.
Amazon is retiring Listings Feeds and upgrading Listings API, which requires changes from the Salestio side. We have updated the app to use the new Listings API requirements and removed the deprecated ways that use XML feeds.
Salestio is already compatible with the new Listings API.
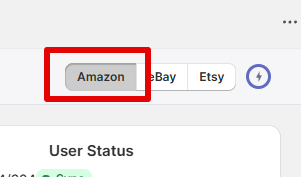
To access the Amazon integration in Salestio, open the app and select Amazon at the top:
Add Amazon account
Start by adding your Amazon account to Salestio. To do so, open Salestio > Accounts tab and click “Add Account”. You will be redirected to the “Assign Account” page.
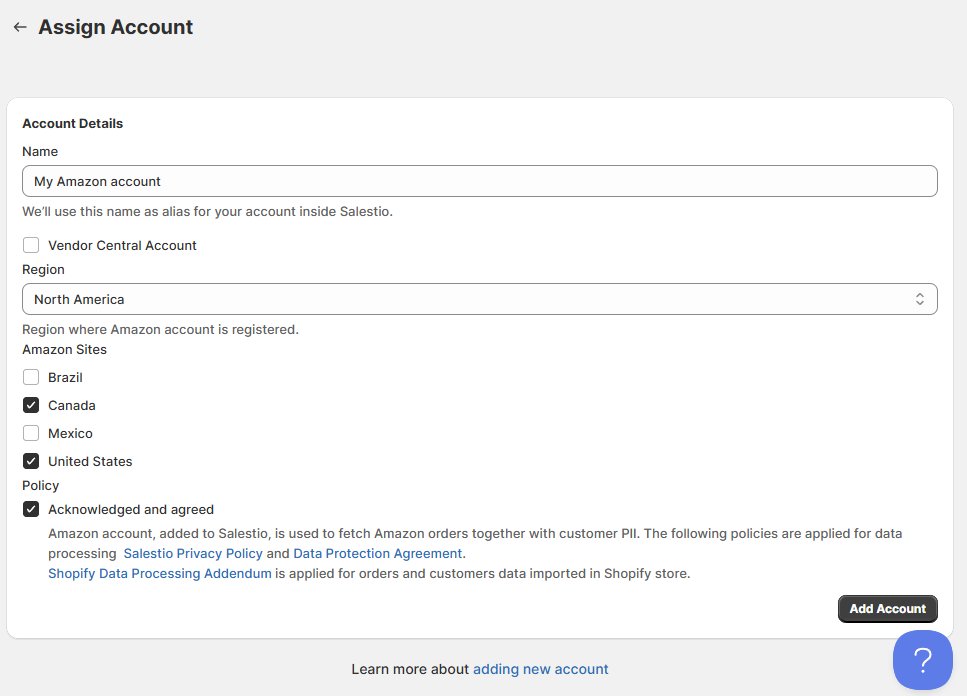
The first thing is to add your account name. The name is used across the application, so use anything that will be recognizable for you.
Next, select the Amazon region and active sites, agree to the policies, and click “Add account”. After the redirect, complete the login on the Amazon website to connect the account.
Add a Selling List
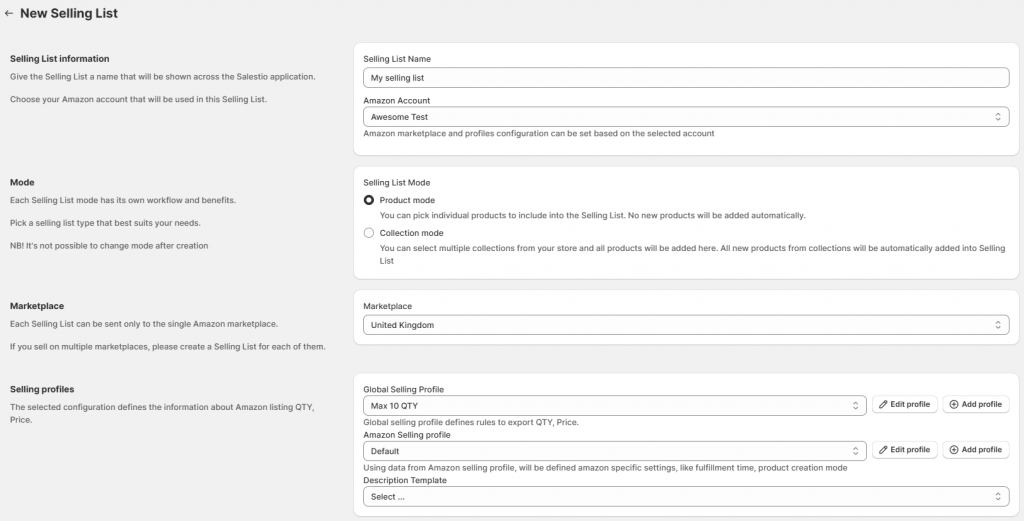
Selling Lists in Salestio organize items into groups with the same synchronization rules. Here is where you send new items to Amazon, update existing ones, and check their status. To create a Selling List, head to Salestio > Amazon > Selling Lists tab and click Add Selling List:

Pick a name for the Selling List, then select the connected Amazon account. Below pick the mode for this Selling List:
- Product mode: add and remove items manually. Editing the product list will be available after the Selling List is created.
- Collection (Category) mode: items will be added and removed from the Selling List automatically based on the content of the selected collections.
When using this mode, select the collections below this section.
In the next step, select the Amazon marketplace. Make sure that this marketplace is available for your account and was selected during connection in Salestio. Marketplace selection affects which profiles are available in the next steps.
Related: Selling on multiple Amazon marketplaces
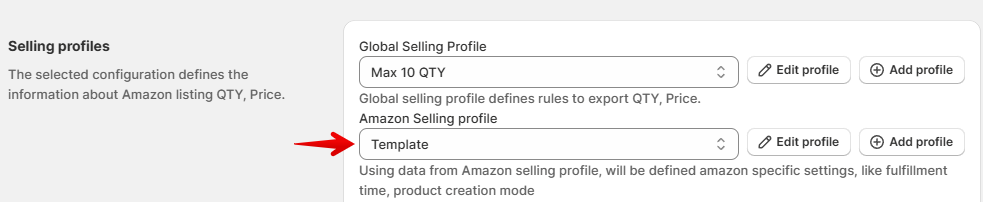
The last section is Selling profiles. Salestio comes with default presets, which you can select here. Pick the default options if you want Amazon listings to have the same prices and other settings as your main store.
Check more in-depth guides on configuring your profiles:
How to Manage Listing Quantities with Salestio
Custom Pricing Rules for eBay and Amazon Listings
When done with the settings, click Add Selling List at the top.
Add and send the items
When the Selling List is created, the next step depends on the mode selected earlier:
- For Product mode, click Add Products at the top and select the items that you want to sell.
- For Collection mode, give Salestio a few moments to populate the Selling List based on the selected product groups. You can edit the selected collections by going to the Selling Lists tab > Edit.
Products are added to the Selling List in the Not Linked status, which means that they have not yet been sent to the marketplace. To send the items, select them in the Selling List and click Send to Amazon:
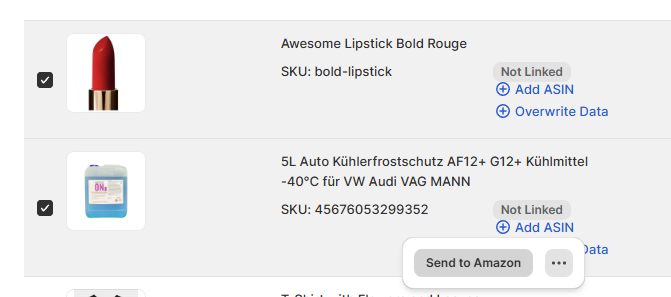
Publishing can take 15-30 minutes. In the meantime, the status will change to Pending Linking. Check back later to see the results. After the items are successfully sent, the status will change to Linked.
Troubleshooting
When publishing fails, it will result in a Linking Error status. When this happens, check the Logs for more details:
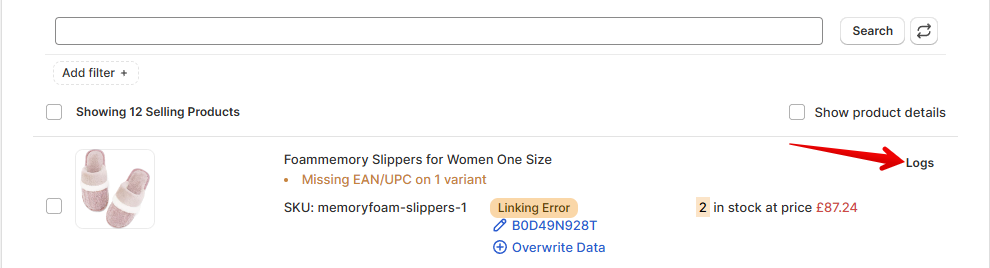
Below are the most likely error messages:
externally_assigned_product_identifier: 'External Product ID' is required but not suppliedThis error means that the product is missing an EAN/UPC barcode. Salestio receives this information from the Barcode field on the product page in the store. To resolve this, add the barcode to the product page and try sending the item again. As another option, add the ASIN, which can be found on the product page in the Amazon catalog. Learn more below:
Using ASINs instead of Barcodes to list Shopify and BigCommerce items with Salestio
merchant_suggested_asin: 'Merchant Suggested ASIN' is required but not suppliedThis error can appear when the item does not exist in the Amazon catalog, so it cannot be listed without specifying additional details. Check the steps from the next section for help with configuring a Creation Profile and listing items like this.
Add a Creation Profile
For items that already exist on Amazon, the above steps are enough to start selling. To create new product listings, Amazon requires additional information, and you can provide this in the Creation Profile.
In the Creation Profile, you can specify the product category, configure product titles, and set product specifics like colors, model numbers, materials, and much more.
To create a new profile, go to Salestio > Profiles > Creation profiles and click “Add Creation profile”.
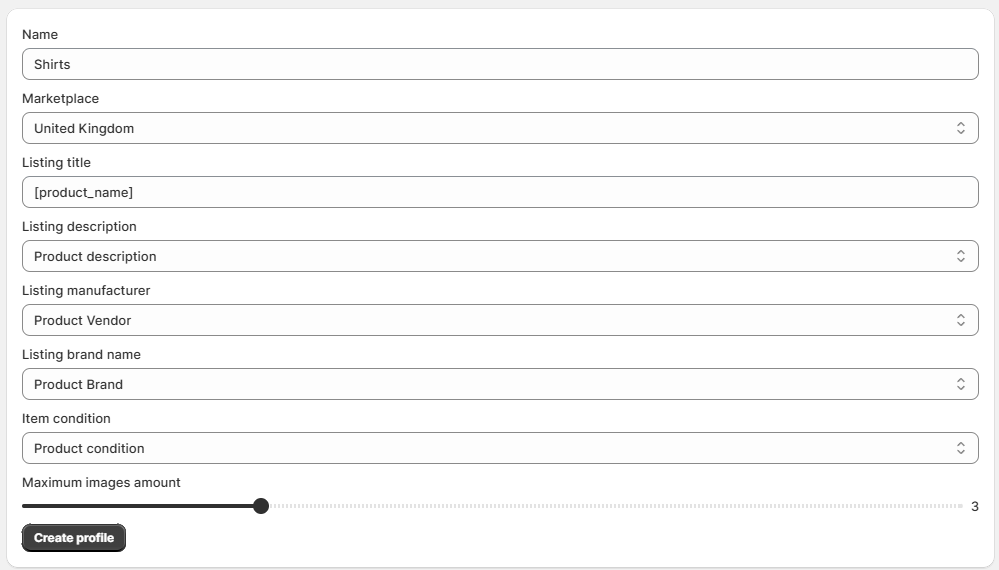
The profile has two parts: settings for all products and mappings for connecting store products with specific Amazon categories. Add the basic details and remember to select the correct target marketplace, then move on to the Condition section to add mappings.
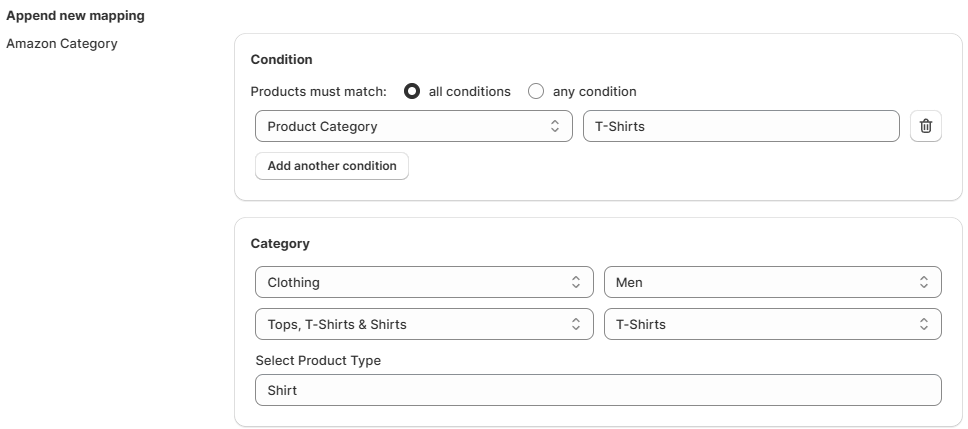
In the Condition section, select which store product groups correspond to the target Amazon category. For example, you can select the “T-Shirts” category from the store, and Salestio will match all T-Shirts in the store to the selected Amazon category.
In the Category section, select the target Amazon category for publishing the listing. Below that, pick the product type that best corresponds to the kind of item you are selling.
The selection of category and product type defines what kind of product specifics will be editable in the next section.
After the product type is selected, the available product fields will appear below. Enter the product details into the fields and save the mapping. Usually, there are a lot of available fields, but keep in mind that not all of them are required.
You can use Shopify metafields to dynamically specify product details depending on the product. Check more details in our Shopify guide.
You can add multiple mappings to one Creation Profile. Make sure to not overlap the conditions for multiple mappings, so that each mapping corresponds to different product groups.
After all the needed mappings are added, save the Creation profile.
To list the items, select the marketplace and enable product creation in the Amazon Profile:
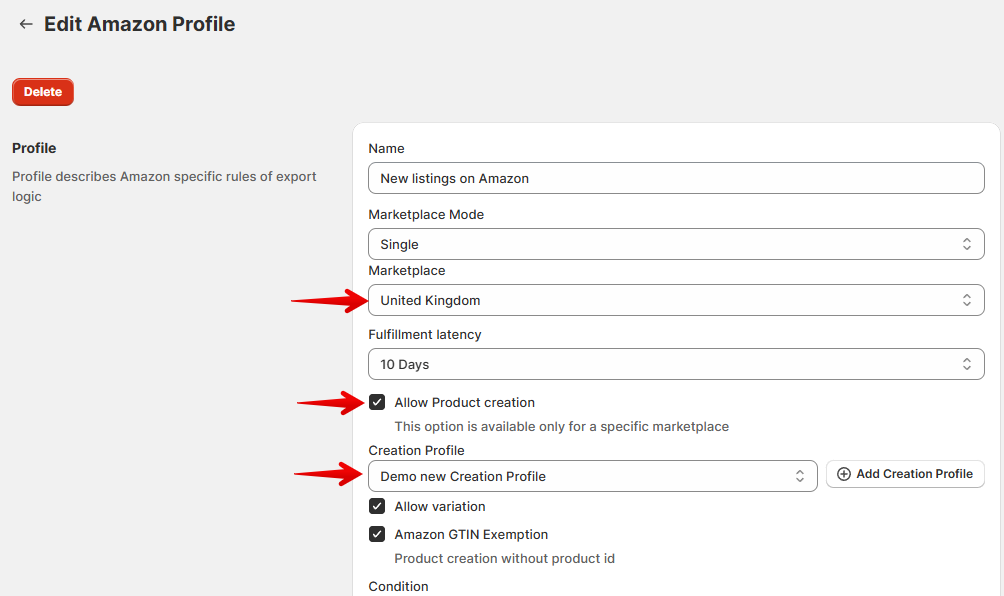
If adding a new Amazon Profile, make sure that it is selected in the Selling List settings:
With the creation settings done, go back to the Selling List and send the items again.
If you want to start selling on Amazon, Salestio can help by automating the process. Don’t have the app yet? Grab a Free 30-day Trial here.
For any questions and comments regarding Salestio, feel free to message support@salest.io.